Maple floors have a reputation for being stunning — and for being unforgiving. If you’re new to owning hardwood floors, here’s the short version: hardwood isn’t sealed tile or vinyl. It’s a real wood surface with a protective coating on top (usually a polyurethane finish, which is a clear plastic-like layer), and that coating is doing all the work. What you clean with, how often, and what you let sit on the floor all affect how long that protective layer lasts — and how long before your floors need a costly full refinish (sanding down to bare wood and recoating, which typically runs $3–6 per square foot). Maple specifically adds a few wrinkles. It’s one of the harder domestic wood species, but it’s also prone to showing scratches more readily than open-grained woods like oak, and it will yellow in direct sunlight over time. This guide gives you a maintenance routine built around maple’s actual quirks — not a generic hardwood checklist.
Why Maple Needs a Slightly Different Approach Than Oak or Walnut
If you’ve read generic hardwood care guides and followed them faithfully, you may still be disappointed in how your maple floors look. That’s because most advice is written for red or white oak — the most common hardwood in American homes — and maple behaves differently in a few important ways.
Maple is closed-grain and dense. Unlike oak, which has visible pores that can grip and mask minor scuffs, maple’s tight, smooth grain means every fine scratch reflects light and is visible from across the room. This is especially true on lighter-finish maple, which is most of the market.
Maple finishes can be thinner on engineered product. In the $2–6 per square foot engineered tier (the range you’d find at Floor & Decor or BuildDirect), the aluminum oxide finish layer is often 3–5 microns thinner than what you’d get on a solid floor with a full-site-applied polyurethane. That matters because your cleaning chemistry has to be gentler — you have less finish depth to burn through before you’re affecting the actual wood veneer.
Maple is a blotch-prone species. This mostly matters during refinishing, but it’s worth knowing: if your finish ever gets stripped in a spot from a chemical spill or improper cleaner, recoating that area without full prep is almost guaranteed to look patchy. The National Wood Flooring Association’s Hardwood Flooring Care & Maintenance Guide specifically calls out solvent-based and high-pH cleaners as leading causes of finish breakdown — and maple’s smooth surface makes that damage immediately visible.
The takeaway: maple rewards conservative, consistent care. The routine below is calibrated for that.
The Weekly and Daily Routine: What Actually Moves the Needle
Most floor damage doesn’t happen from catastrophic events — it accumulates from daily grit, humidity swings, and the wrong cleaning products used on repeat. Here’s how to build the habit that protects the finish.
Daily: Dry-Sweep or Microfiber-Dust
Grit is sandpaper. Sand, soil tracked in from outside, and fine debris sit between shoe soles and your floor surface and abrade the finish every time someone walks through. A microfiber dust mop (flat-head style, not a traditional string mop) is the single highest-ROI maintenance tool you can own. Per the National Wood Flooring Association’s maintenance guidelines, dry dusting or vacuuming on a daily basis in high-traffic areas extends the finish life significantly compared to weekly-only schedules.
If you vacuum instead: use a hard-floor setting or the bare-floor attachment. Beater bars — the rotating brush roll in carpet vacuums — will scratch maple’s finish. This comes up consistently in owner reviews of popular uprights across aggregated flooring forums and retailer Q&A sections.
Weekly: Damp Mop — and “Damp” Means Almost Dry
The most common mistake owners make is using too much water. Water and wood are enemies in two different ways: standing water penetrates seams between planks and swells the wood, and repeated wet-mopping gradually raises the grain even on a well-finished floor. The Spruce’s hardwood maintenance coverage echoes what most flooring manufacturers recommend: wring your mop until it’s barely damp — the mop head should not be dripping, and the floor should be dry within 30–60 seconds of mopping.
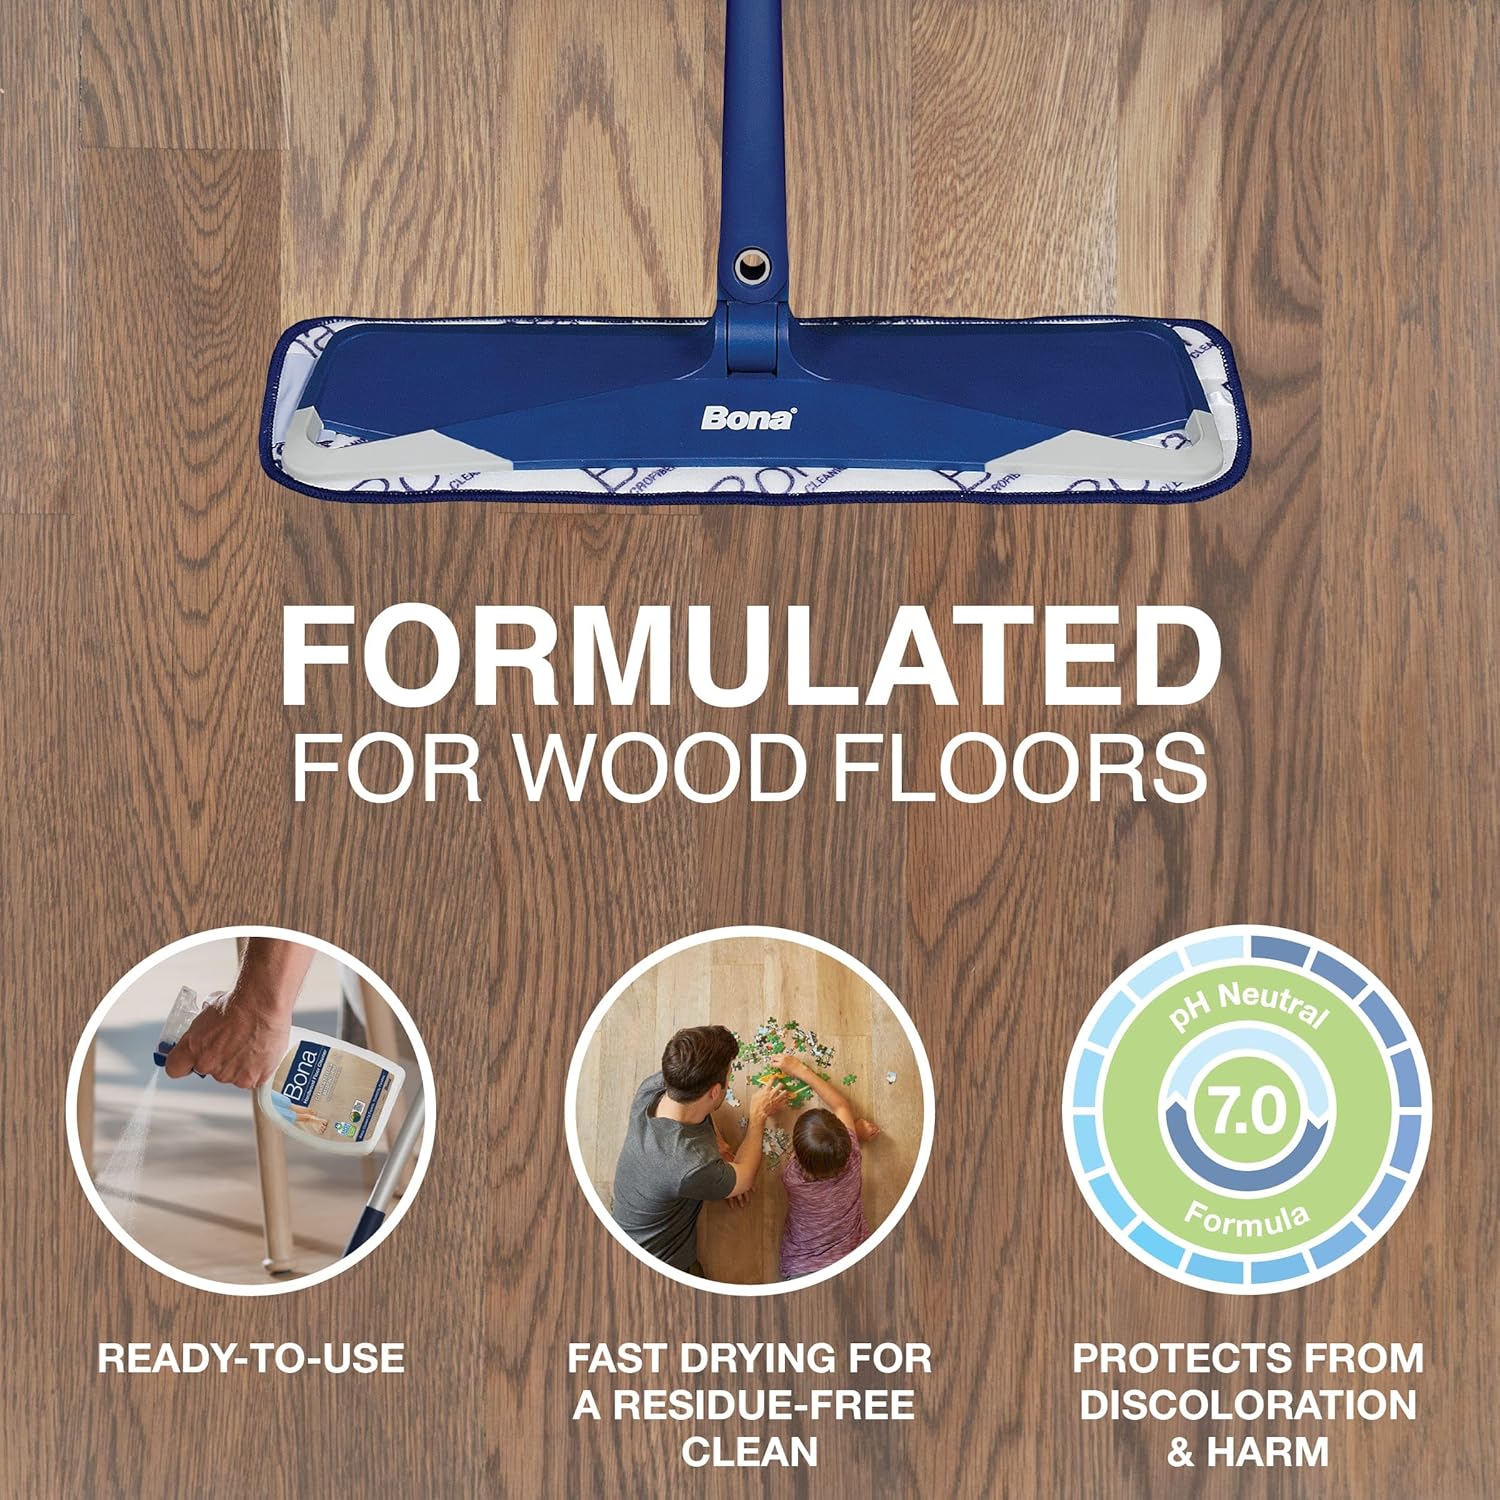
Use a pH-neutral, hardwood-specific cleaner. This is non-negotiable. Products formulated for tile, laminate, or general floors often contain surfactants or solvents that leave residue, dull the sheen, or actively degrade polyurethane over time. Bob Vila’s hardwood cleaning guide and Fine Homebuilding’s finishing coverage both flag vinegar — despite its popularity in DIY circles — as a finish-damaging cleaner over repeated use. Vinegar is acidic enough to break down polyurethane bond over time. Avoid it.
Cleaners that are consistently well-reviewed by maple floor owners include those in the Bona Hardwood Floor Cleaner line and the Method Squirt + Mop Hard Floor Cleaner (used on polyurethane-finished floors specifically). Both are pH-neutral, residue-free, and widely available. Neither is a paid mention — they simply come up in owner reviews across This Old House reader comments and Houzz flooring threads with unusual consistency.
By the Numbers: Maple Floor Maintenance Reality Check
| Factor | Interval | Cost if Ignored |
|---|---|---|
| Dry dust/sweep | Daily in high-traffic areas | Finish abrasion; full refinish at $3–6/sq ft |
| Damp mop | Weekly | Grain raise, residue buildup |
| Area rug rotation | Every 6–12 months | UV yellowing differential — visible color banding |
| Screen-and-recoat (refresh finish without sanding to bare wood) | Every 5–7 years | Deferred refinish at 2–3× the cost |
A screen-and-recoat — sometimes called a buff-and-coat — is the maintenance move that most owners skip and most contractors wish their clients knew about. It involves lightly abrading the existing finish with a buffer (no sanding to bare wood), then applying one or two new finish coats. On solid maple floors in the $6–12 per square foot tier, this costs roughly $1–2 per square foot in most U.S. markets as of mid-2026, and it resets the clock on your finish for another 5–7 years. Miss the window, and a full refinish — with the full complexity of maple’s blotch sensitivity — becomes unavoidable.
The Specific Threats: Sun, Moisture, and the Wrong Products
UV Yellowing Maple is particularly susceptible to ambering — a warm, golden-yellow shift that happens when UV light hits the wood’s natural resins. This is a documented characteristic, not a defect, and it affects even UV-cured factory finishes over time. Fine Homebuilding’s coverage of wood floor finishing notes that the rate of ambering is faster on oil-modified polyurethane (the finish type most commonly applied on-site by flooring contractors) than on water-based finishes, which tend to stay clearer longer.
What you can do: rotate area rugs every 6–12 months so the floor yellows evenly. UV-blocking window film — applied directly to glass — meaningfully slows the process. If you have furniture or rugs that haven’t moved in years on a maple floor, prepare for a visible color differential when you do move them.
Moisture and Humidity Swings Hardwood is hygroscopic — it absorbs and releases moisture from the surrounding air. When indoor humidity drops (typically in winter with forced-air heating), maple planks contract, and you’ll see thin gaps open between boards. When humidity climbs in summer, they swell back. The National Wood Flooring Association recommends keeping indoor relative humidity between 35% and 55% year-round for hardwood floor stability. Outside that range — especially repeated cycling — leads to cupping (where plank edges rise higher than the center) or crowning (the opposite). A whole-home humidifier or a room-level humidifier in dry climates is a real investment in floor longevity, not a luxury.
Cleaning Products That Silently Damage Finish Beyond vinegar, watch out for:
- Steam mops — regardless of what the mop manufacturer claims about “hardwood safe” settings, steam forces moisture into seams and beneath finish. This is a consistent finding in This Old House’s hardwood care coverage and echoed by nearly every flooring manufacturer’s warranty exclusion list.
- Oil soaps (Murphy’s Oil Soap is the most common offender) — these leave a residue that builds up over time and interferes with future recoating. If you ever plan to screen-and-recoat your floors, a pre-existing oil soap buildup means an extra prep step and additional cost.
- Multi-surface sprays with ammonia or bleach — these are too alkaline for polyurethane and will dull or cloud the finish.
Scratch Repair and Touch-Up: Decision Framework
Maple shows scratches. That’s the trade-off for its tight, light-colored grain. Here’s a straightforward decision tree for what you’re dealing with:
Surface scratches (in the finish layer only, no wood fiber exposed): A furniture touch-up marker in a matching tone and a light buffing with a clean cloth often makes these nearly invisible. These are finish-level injuries — the wood itself is untouched.
Through-finish scratches (you can feel the scratch with your fingernail and see raw wood): This is a job for a wood filler stick matched to your floor’s stain tone, followed by a thin topcoat of finish applied with a foam applicator. Done carefully, it’s not invisible, but it’s significantly less visible than bare wood exposed to wear. If the area is larger than a few square inches, get a flooring contractor’s opinion before DIY-ing — spot repairs on maple are harder to blend than on oak because of maple’s closed, smooth grain.
Widespread finish wear: If multiple areas show consistent dullness, worn-through finish, or the floor no longer responds to cleaning and looks clean — this is the screen-and-recoat window. Don’t wait until you’re at bare-wood exposure.
If X, Then Y: The Decision Rules
You’ve got the framework. Here’s how it collapses into action based on your situation:
-
If you’re in the first year with new maple floors: Lock in the daily dusting habit and identify your pH-neutral cleaner now, before bad habits form. Check your indoor humidity range — invest in a hygrometer ($15–25 at most hardware stores) before next heating season.
-
If your floors are 4–6 years old and look dull but not scratched: You’re likely in screen-and-recoat territory. Get two or three contractor quotes before committing. Ask specifically whether the contractor has experience with maple — the blotch risk during recoating requires someone who knows the species.
-
If you’ve been using vinegar, steam mops, or oil soap: Stop immediately and switch to a pH-neutral cleaner. The damage to date may be gradual — you may be closer to a mandatory refinish than you think. Have a flooring professional assess the finish condition before it becomes a full-wood refinish situation.
-
If you’re specifying maple floors for a client or project: Build maintenance documentation into the handoff. Owners who don’t know the vinegar myth will kill a beautiful floor in three years. A one-page care sheet — citing the NWFA’s maintenance guide — is the easiest risk mitigation you can provide.
The effort required to maintain maple well is genuinely modest: dust daily, damp-mop weekly, protect from UV and moisture swings, and use the right cleaner. The cost of not doing it — full refinish, visible yellowing bands, cupped planks — is where maple gets expensive. The routine isn’t complicated. It just has to be consistent.